450 unpainted, 550 painted")
Oh, well you can’t get it professionally painted in the U.K. for 100 so that’s an easy decision.
Is it made from GRP?

450 unpainted, 550 painted
It looks like the guys may be discussing the bottom end - but if it’s in the general theme of built engines it will also be forged pistons and rods - perhaps just stronger ones. Perhaps even going to a custom ECU and doing away with the direct injection. But I‘ve got to say, mine already feels very quick.Yeah, I think I like it.
Also, judging by the engine block on the bench, it appears they're doing a serious rebuild on a motor, discussing internals, etc? I don't speak Greek. Would love to know the content of their conversation regarding the engine and what they have planned.
Well, as with any clutch, it partly depends on how you use/abuse it. I don’t think there is so much of an issue with the tune I have but the jury is still out on the impact of raising it to 300+ bhp. As it stands so far, Courtenay haven’t changed the clutch, fuel pump or injectors - it’s all stock except for the reworked turbo.Just wondering if you asked and how Courtenay replied regarding the stock clutch handling things as they are after your tune?


Yes, I noticed that the front sway bar ones are just generic - so not much use. As you say, Whiteline have now produced some i20N specific instructions (not with the bar, you have to download them from the Aus. website - not the U.K. one as they haven’t bothered to provide a link) but it’s a shame they ignore some fitting steps and tell you to do a load of stuff that isn’t necessary! Anyway, at least it fits wellNice.
I see Whiteline have gotten around to providing instructions for this part. When I did mine, they had none, either supplied with the kit or on their website. They still don't have any for the front swaybar.
 .
.Yes, I noticed that the front sway bar ones are just generic - so not much use. As you say, Whiteline have now produced some i20N specific instructions (not with the bar, you have to download them from the Aus. website - not the U.K. one as they haven’t bothered to provide a link) but it’s a shame they ignore some fitting steps and tell you to do a load of stuff that isn’t necessary! Anyway, at least it fits well
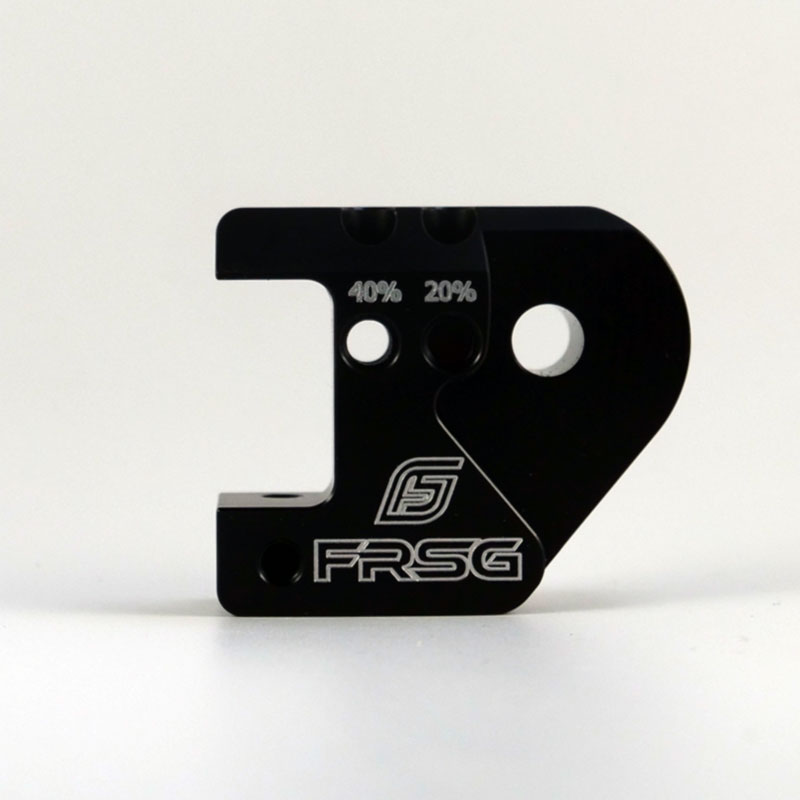
The hell is a tunnel brace?


Hmm ok, at what point are you just adding so much more weight though?
 foresight-shop.eu


 powerflexstore.co.uk


